If you are a gamer and find yourself stuck on public transport, you’ll probably try pass the time playing games.
The Nintendo switch has been a lifesaver for boredom while doing my commute, but there is one small problem.
The problem with playing on the go, is that I often lose track of time and surroundings.
Forcing me to stash and dash with my switch, this has led to some undesirable scratches.
Sick of finding new scratches and bumps on your Nintendo Switch?
I typically use preventative protection measures like cases and screen protectors across all my tech devices.
I generally have 3 requirements in any case, these are:
- Case needs to offer great protection without being bulky.
- Needs to look good (enhances or retains product aesthetics)
- Need full access and use of all product features
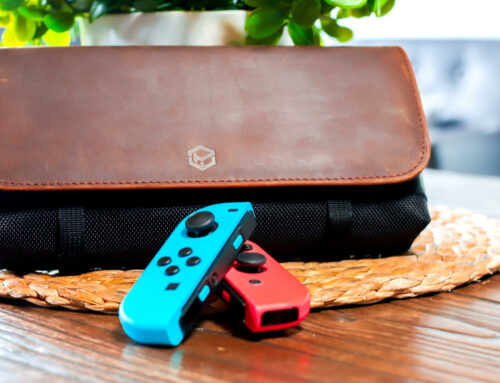
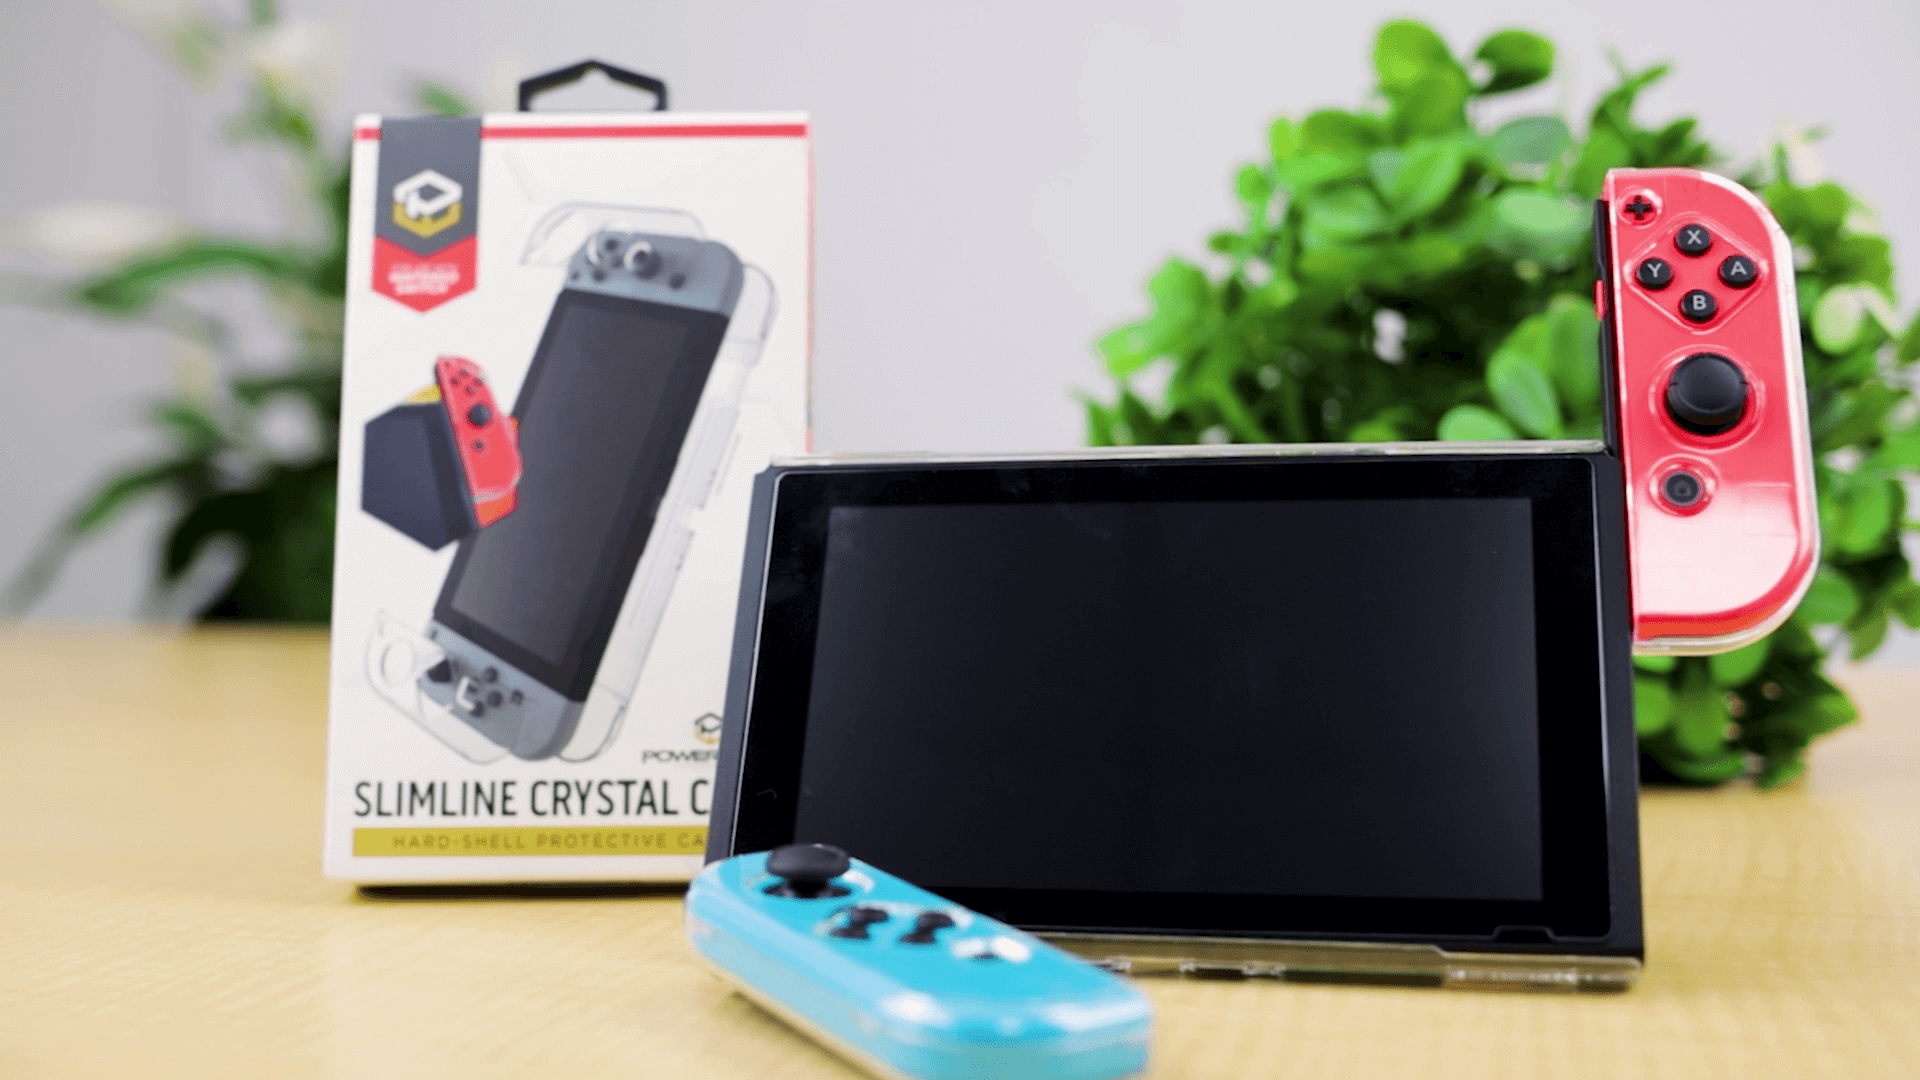
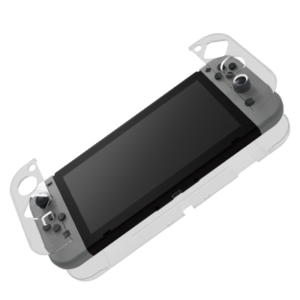
Enter the solution – The Powerwave Slimline Crystal Case, a non-intrusive and sleek protective solution for the switch console and joy cons.
The Case can be quickly clipped onto the console, allowing full access to all ports and buttons and ability to remove the joy cons.
Clipping on the Joy Con cases is also relatively simple to do.

What do you need to install the case?
Having everything neatly laid out in front of you makes installation quick and easy.
There are only a couple of things you will need that aren’t included in the box;
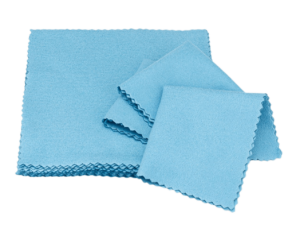
- a nice soft cloth (a microfibre or lens/glasses cloth are perfect)
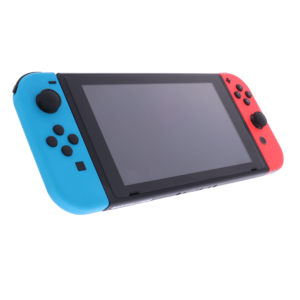
- Switch Console
- JoyCons
Please note: due to their larger size our Powerwave JoyPad pair won’t fit (the console section will still fit.)

How to install the Case.
Give the instruction manual a quick read. Find the latest instruction manual here:)
Let’s start with the JoyCon Cases:
- If attached, carefully separate the front and back protectors from each other.
- If attached, remove the JoyCons from the Switch Console.
- Use a soft cloth to wipe the insides of the protector and your Joycons to remove any dust or dirt.
- Place the Nintendo Switch Joycons into the back halves of the protectors.
- Place the front halves of the protectors on top of the Joycons, carefully aligning each of the 4 clips and pushing gently into place. (Be careful as to not apply too much force as this may cause damage)
The Console Protector slides on easily, here’s how we do this:
- If attached, remove the Joy Con Controllers from the Switch Console. (We found while doing the video that this step isn’t entirely necessary, It just makes alignment a little easier.)
- Use a soft cloth to wipe the insides of the protector and the back of the Switch Console to remove any dust or dirt.
- Align the bottom of the Switch Console to the bottom of the Protector and slide into place.
- Gently push the top of the Switch Console into the top of the Protector until it is snugly in place.
Protect your Switch with the Powerwave Slimline Case and get ready to rumble.
Don’t forget to get a Powerwave Switch Tempered Glass Screen Protector for complete peace of mind!
Like our products? Tag us! @powerwaveaccessories
Find the Slimline Crystal Case here: https://bit.ly/3v1XL37