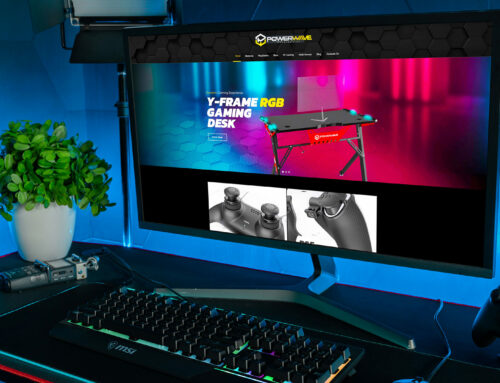
If you’ve just purchased the Powerwave RGB gaming desk, or you’re considering it but would like to know how to set it up, below are the instructions to ensure you get off on the right foot.
Prior to the video, I laid out all the parts in some sort of order, browsed through the instruction manual and then organised the screws based on the order they’re needed.
Having everything laid out in an organised fashion will help put things together more efficiently.
The package, along with the main components of the desk, comes with a screwdriver, protective gloves (if you’re so inclined) and plasticine (required later in the set-up for cable management). There’ll also be some screws left over as spares.
Step 1
Connect the rail to the legs and then tighten with screws. You may need someone to help you hold things in pace whilst doing this step.
Step 2
Place the plastic covers on the feet of the table then screw in the feet. Don’t forget to remove the protective plastic from the feet (I overlooked this bit, oops!).
Step 3
Connect the balance rails with the screws.
Step 4
Get the light covers and put them in place, secure with screws.
Step 5
Remove the lids from the self-adhesive cable trunking and remove the thin film from the adhesive base.
Step 6
Attach to the underside of the desk.
Step 7
Connect the cables. You can now test these using a power bank or USB adapter.
Step 8
Pack the cables neatly into the channels.
Step 9
To keep cables in place and packed away, you can use the included plasticine to firm into place.
Step 10
Attach the desk top to the legs and secure with screws.
Step 11
Attach the cup holder and headset holder.
Step 12
Attach the side panels, secure with screws.
Step 13
Attach the Powerwave panel, secure with screws.
Your Powerwave Y-Frame RGB Gaming Desk is now set-up and ready to rumble.
Like our products? Tag us!
@powerwaveaccessories